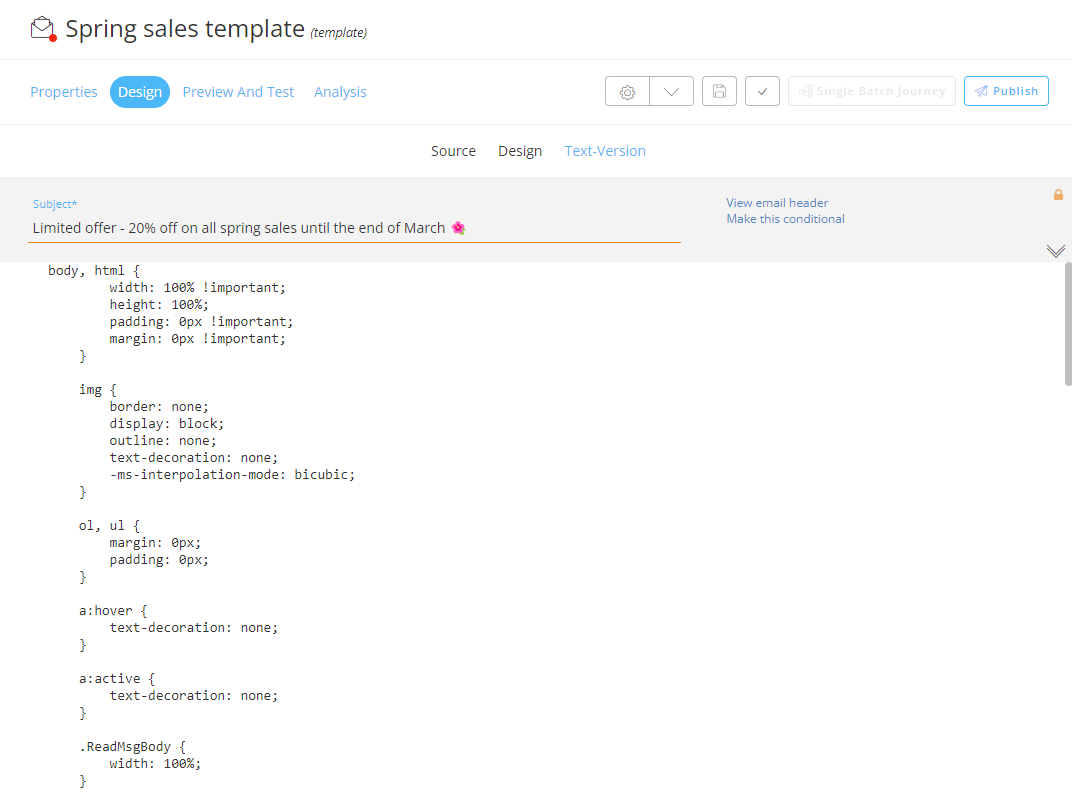
In the previous step, the text version of the email template was extracted.
This was the last step in the email template setup.
Now, we're going to test/preview our template.
Preview and test
Rule of thumb : Always test your emails and other messages.
Make sure everything looks okay and personalization
and constraints work as expected.
Below there's a short overview.
For a
complete explanation, check the 'Preview' and 'Send test message' topics.
Note: You can also test your email template in a journey.
1. Click on the 'Preview and Test' button at the top to preview your email.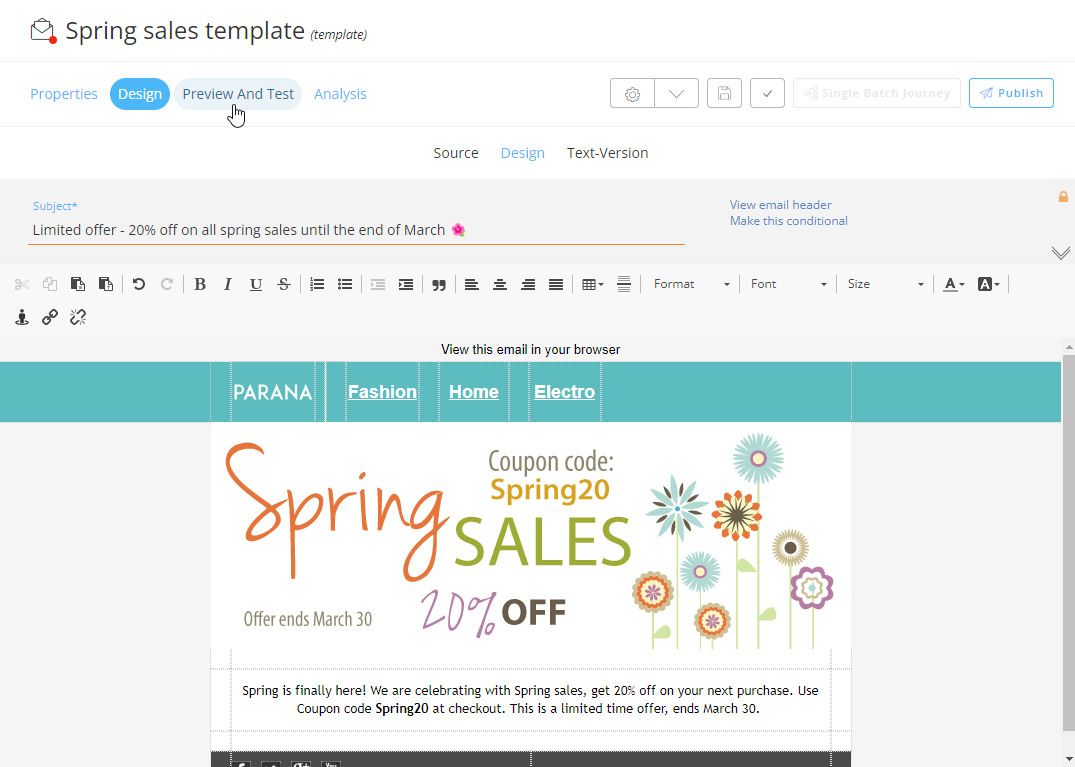
2. Select
a test contact on the right.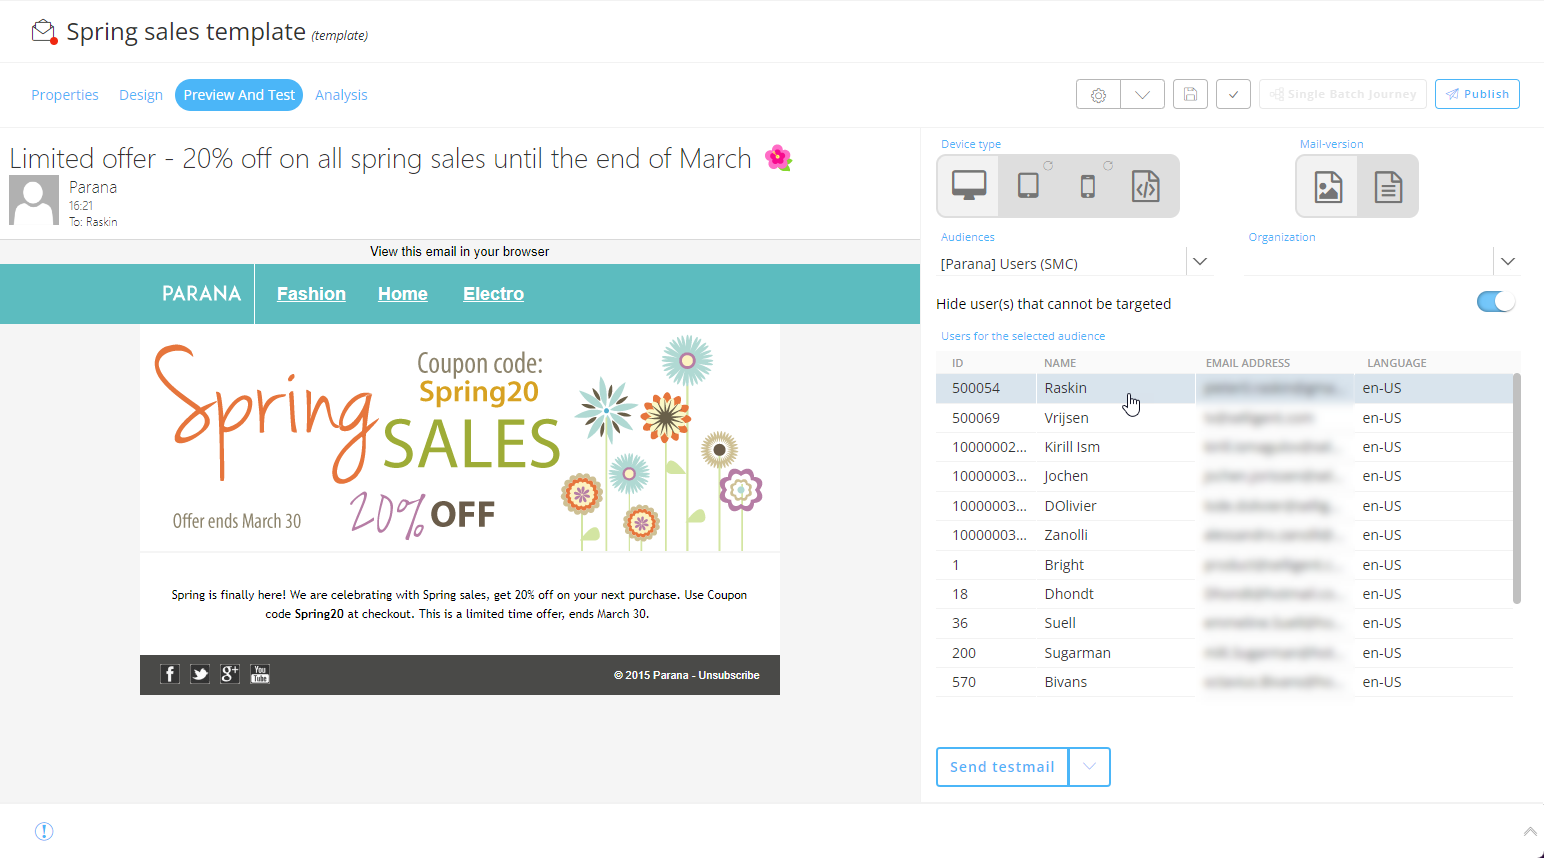
The language of the selected test contact determines in which language the email template is shown.
As we've only designed our template in English, it'll only work for test contacts with English as language (language code 'en-US' in our example).
Note: By default, the 'hide user(s) that cannot be targeted' toggle is enabled.
You can disable it to show all available test users from the selected Audience List in the Organization, including the ones with another or no language.
But selecting it doesn't make sense here, as our template doesn't exist in another language. It won't render a preview.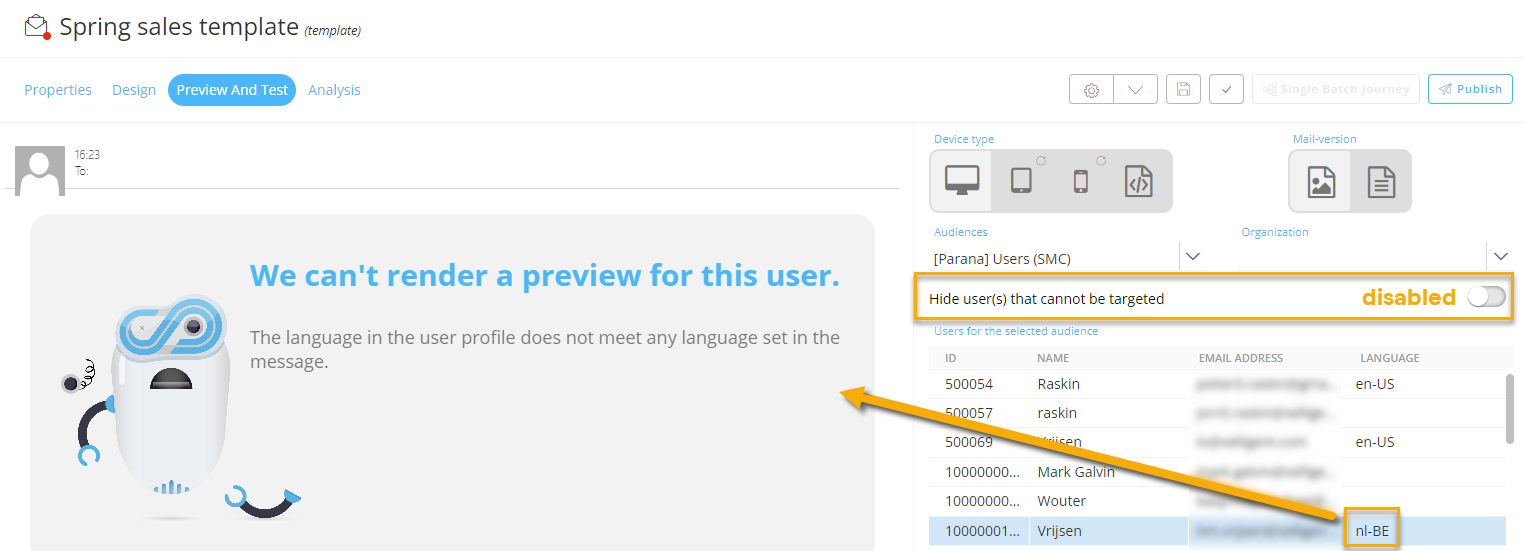
3. At the top-right, you can switch between desktop, tablet and mobile device types, and change the orientation.
Our template for example, looks like this on a tablet in landscape mode :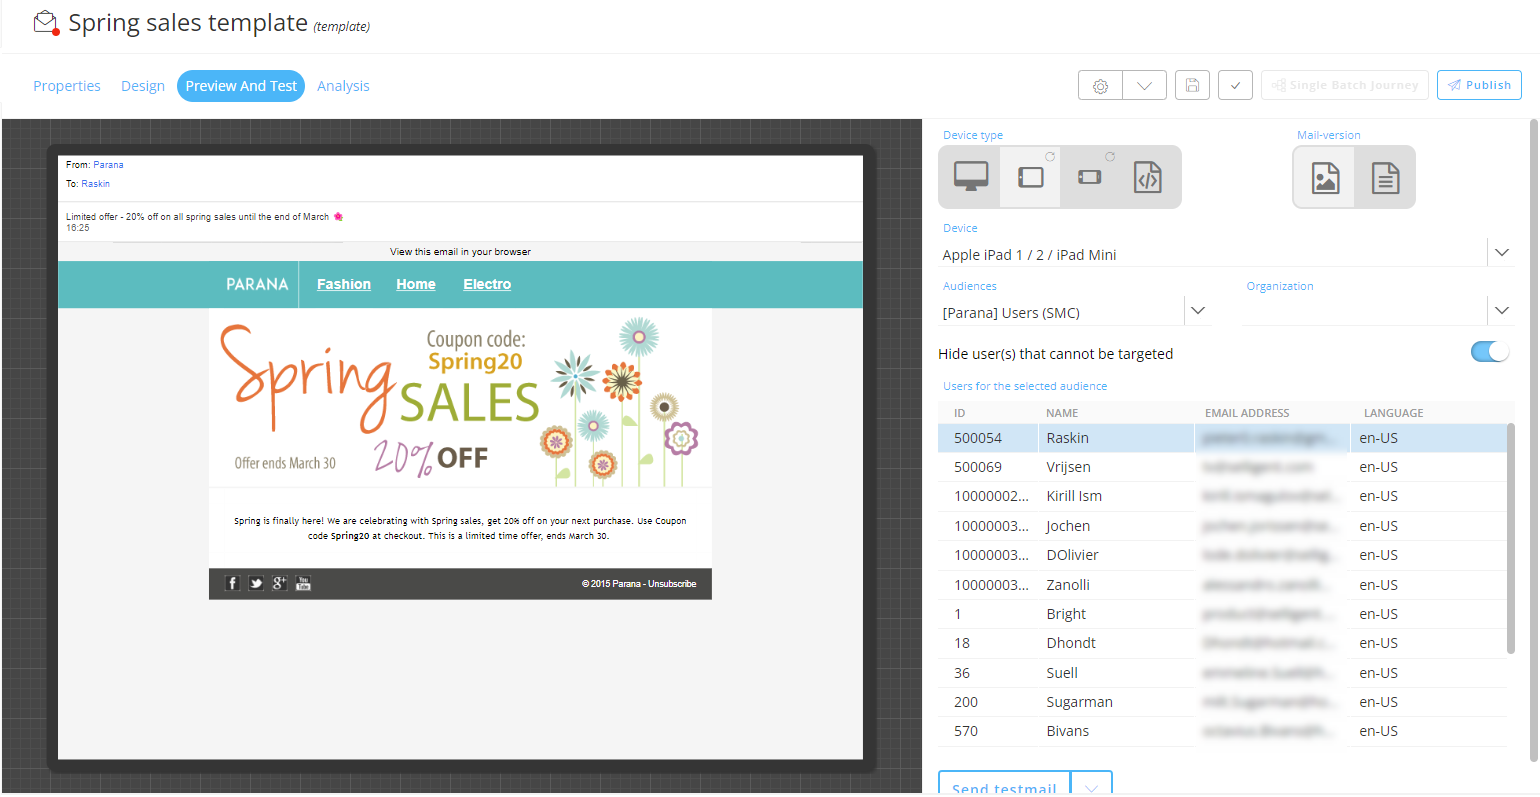
You can also see the HTML source code of the email :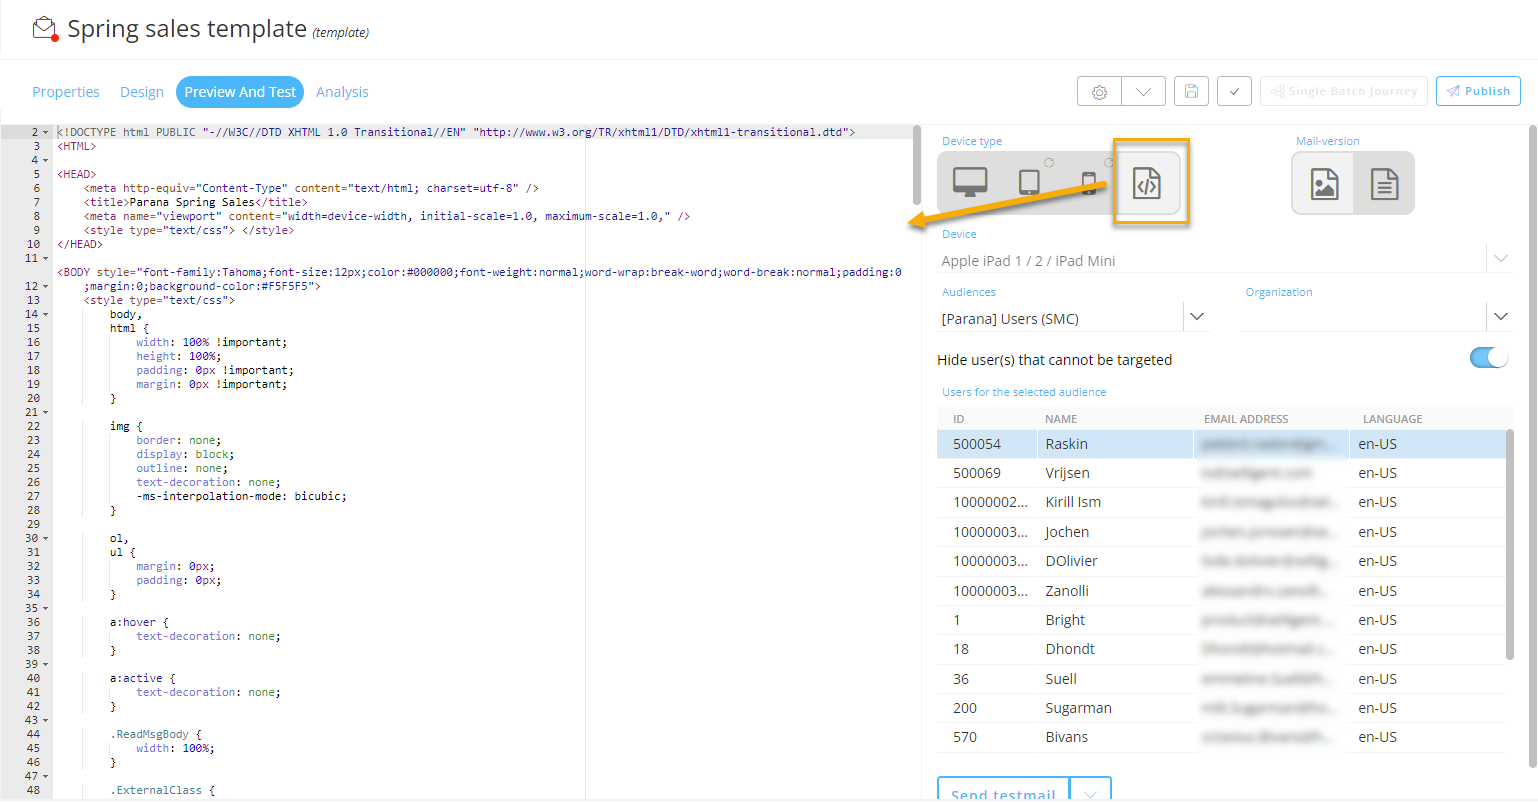
4. Next to the 'Device type' buttons, you can also click on the 'Mail-version' buttons to switch between the design view and the text version of the email.
- Design view :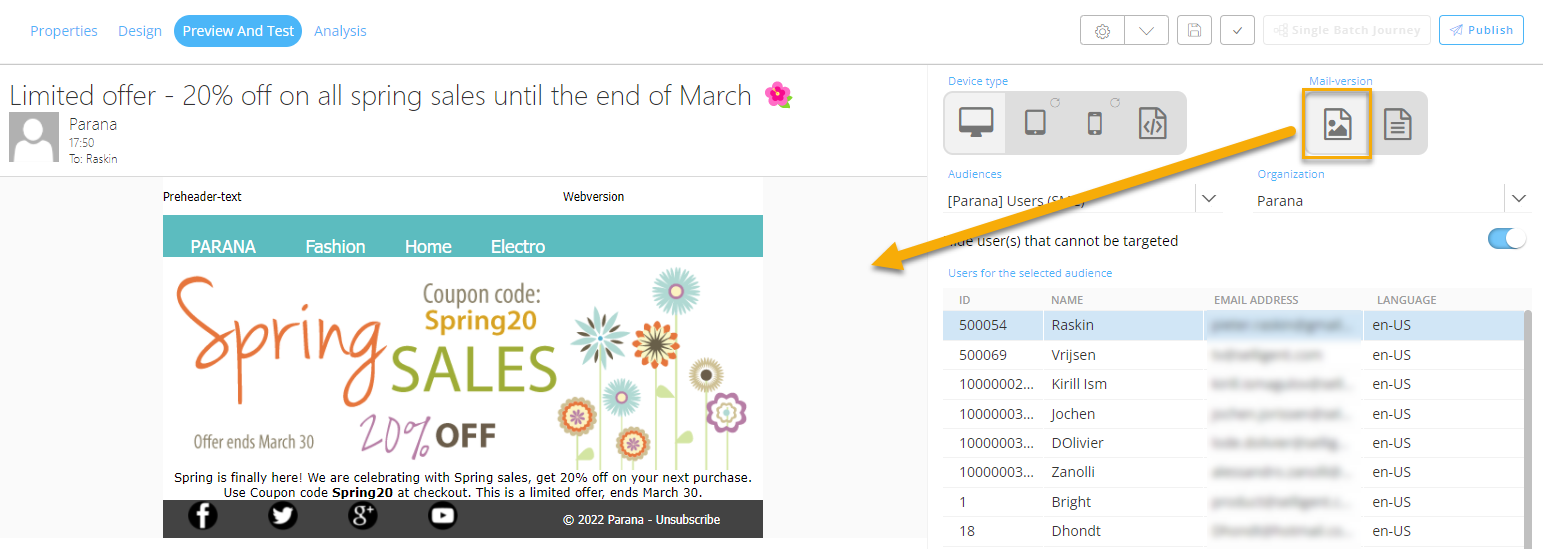
- Text version :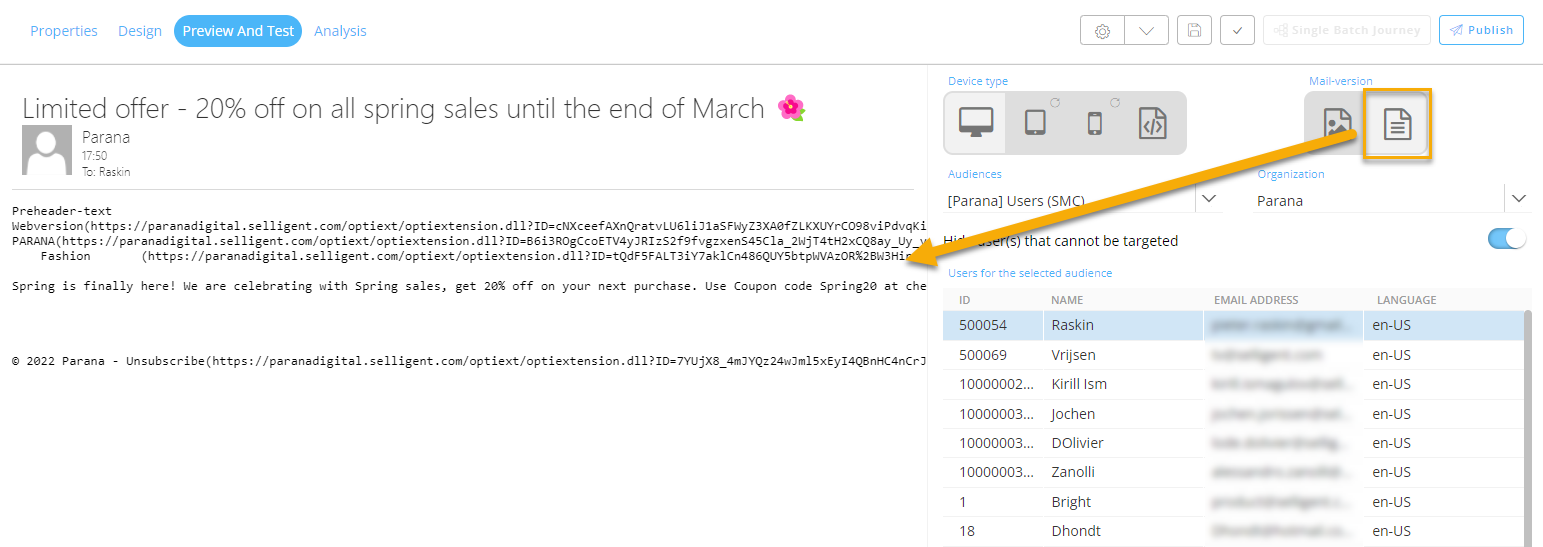
Note: As we didn't set any visibility constraints, switching from test contact won't change any visual email content in our example.
Also note that links in the email show a hand icon when hovering over them with the mouse cursor, but in the preview screen they're not clickable (while in an email that's actually sent out, links are clickable — see 'Send testmail' below).
Send testmail
Let's send a testmail to our own email address to verify the actual email as it will be sent out to all contacts.
1. Click on the drop-down arrow next to the 'Send testmail' button, and select 'Send to e-mail address(es)'.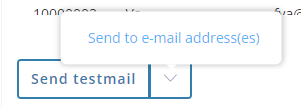
2. In the pop-up that appears, enter your own email address and click the 'Ok' button.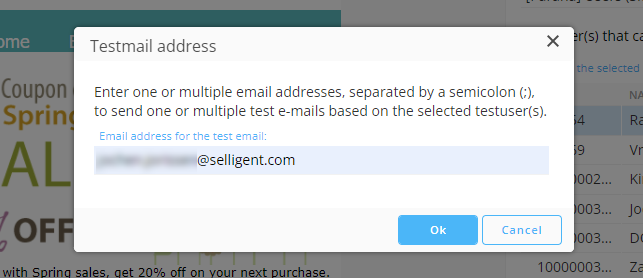
3. A confirmation will be shown on the screen that the testmail has been scheduled for sending.
4. The testmail arrives shortly in your inbox and looks like this :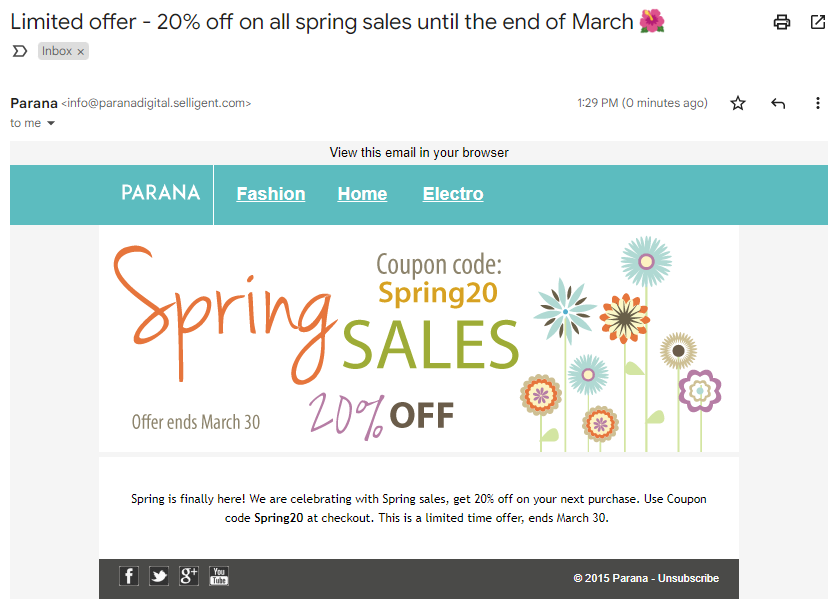
Note: Instead of sending a testmail to a manually entered email address, you can also send it to a test contact from the Audience List, by simply selecting it on the right and clicking the 'Send testmail' button.
Please be aware that the test recipient will actually receive the test email, so make sure you select the right contact and do not spam people with unwanted emails.
It's also possible to send the testmail to multiple test contacts at once, by holding the Ctrl or Shift key while selecting multiple test contacts on the right.
For manually entered email addresses, this is also possible, by separating them with a semi-colon between each email address.
Email analysis
Finally, there's an 'Analysis' button next to the 'Preview and Test' button.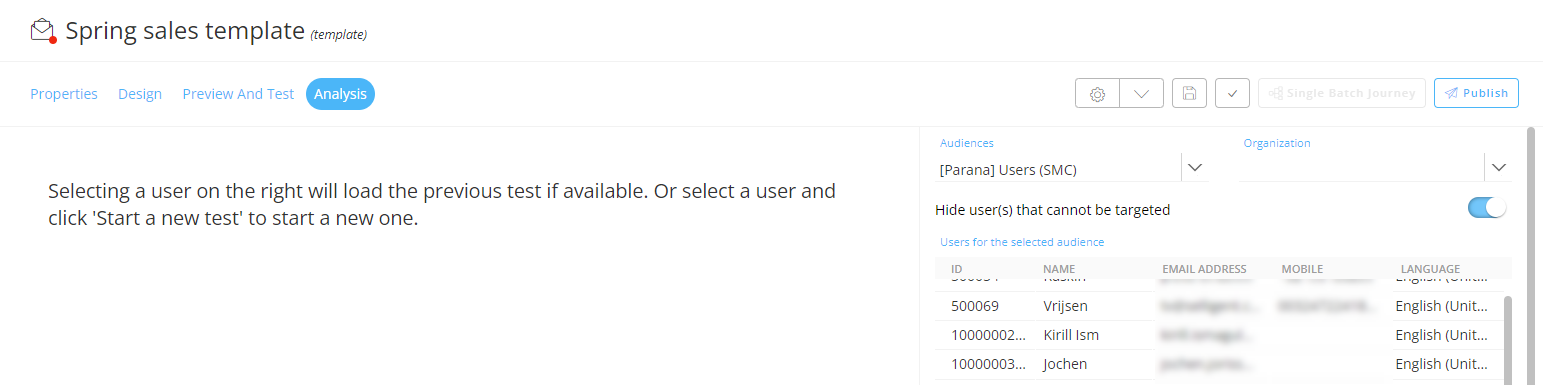
Email analysis is based on Email On Acid, third-party software which is
integrated in Marigold Engage.
After selecting a test user and starting a new test, screenshots of your email are generated for the most common email clients and spam analysis checks are done.
For this example,
we'll skip this. For more information, please check the Analysis topic.
Note: Although 'Email analysis' generates screenshots of your email in the most common email clients, it's still a good idea to create some test accounts for the most common email clients (Gmail, Yahoo, Outlook, Apple Mail, etc) and send out testmails to check the actual outcome.
Next up is the creation of a Single Batch Journey from the email template.
| STEPS : |
|---|
| 1. Create a new email |
| 2. Design the email content |
| 3. Add email header |
| 4. Extract text version |
| 5. Test/Preview the email template |
| 6. Create a basic journey to send out the email template to contacts |
